교재 : 2023.03.31 - [네트워크 수업] - 네트워크운영관리.pdf (telnet과 ssh의 차이점) 23.03.31
지난 수업 이어서 : 2023.03.30 - [네트워크 수업/리눅스] - [리눅스] 서버구축 (리눅스의 보안정책 selinux) 23.03.30
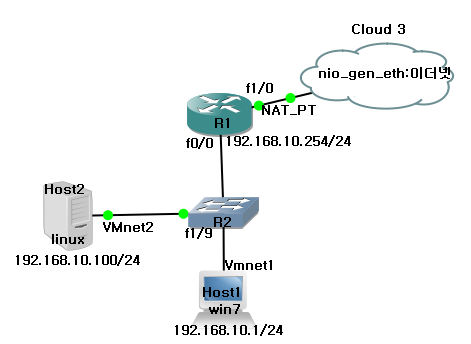
R1]
R1(config)#username admin password cisco123
R1(config)#line vty 0 4
R1(config-line)#login local
R1(config-line)#enable password cisco123
Win702 로 이동
cmd => ping 192.168.10.254

telnet local 지우고 텔넷 내부 패스워드 설정해보기
R1(config)#line vty 0 4
R1(config-line)#no login local
R1(config-line)#password cisco
R1(config-line)#login ==> local 안쓰고 밑에 텔넷 내부 패스워드를 쓰겠다는 뜻.
Win702에서
telnet 으로 들어가고 비번치고
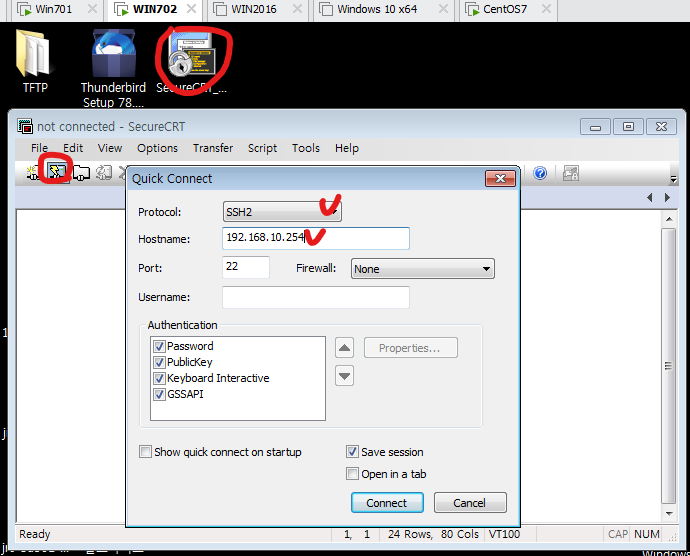
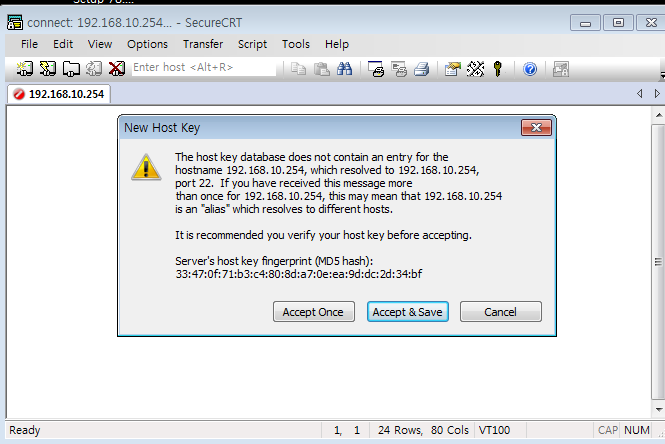
192.168.10.254
비밀번호 모두를 암호화 해보기
R1(config-line)#service password-encryption
R1(config)#end
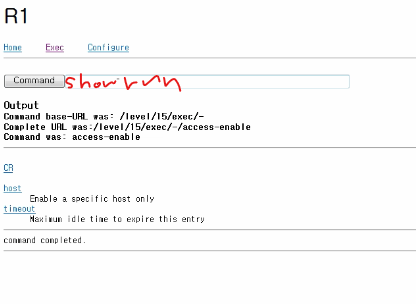
show run 해보면

암호화 알고리즘
RSA
SSH
hostname 과 domain-name 설정이 필수다!
R1(config)#hostname R1
R1(config)#ip domain-name kedu.edu
R1(config)#crypto key generate rsa
The name for the keys will be: R1.kedu.edu
Choose the size of the key modulus in the range of 360 to 2048 for your
General Purpose Keys. Choosing a key modulus greater than 512 may take
a few minutes.
How many bits in the modulus [512]: 768
% Generating 768 bit RSA keys, keys will be non-exportable...[OK]
R1(config)#
*Mar 1 17:17:00.183: %SSH-5-ENABLED: SSH 1.99 has been enabled
R1(config)#ip ssh version 2
R1(config)#line vty 0 4
R1(config-line)#transport input ssh ==> 이제부터 ssh를 사용할수있다.
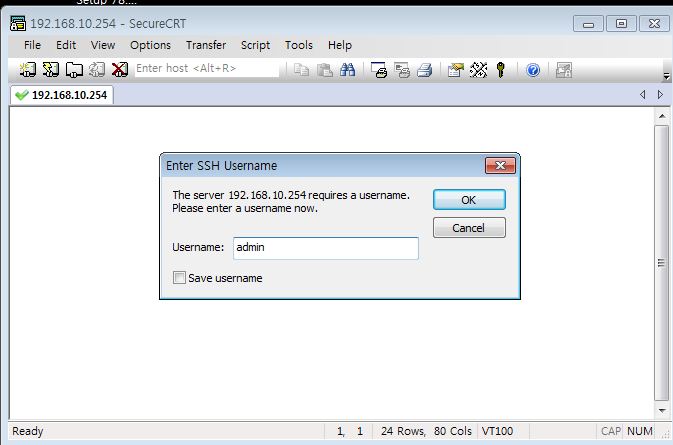
R1(config-line)#login local


vpn도 이걸쓴다.
if))
ip로 통신안하고 hostname 으로 통신하고싶다하면 매크로를 작성한다.
방법
R1(config)#ip host R1 192.168.10.254
==> ip를 R1에 매핑(=매크로=대입) 시키겠다.
R3]
R3(config-if)#no ip routing
R3(config)#ip default-gateway 192.168.10.254
R3(config)#ip host R1 192.168.10.254
R3(config)#end
no ip routing
ip default-gateway 192.168.10.254
ip host R1 192.168.10.254
R1(config-if)#username admin15 privilege 15 password cisco123
R1(config)#ip http server
R1(config)#ip http authentication local ?
<cr>
R1(config)#ip http authentication local ==>위에 비번 물어보겠다.
R1(config)#ip http secure-server
% Generating 1024 bit RSA keys, keys will be non-exportable...[OK]

웹으로할땐 무조건 최고권한으로 들어가는것.
Kali로 해킹하기
kali 들어가서
아이디 : root
비번 : P@ssw0rd
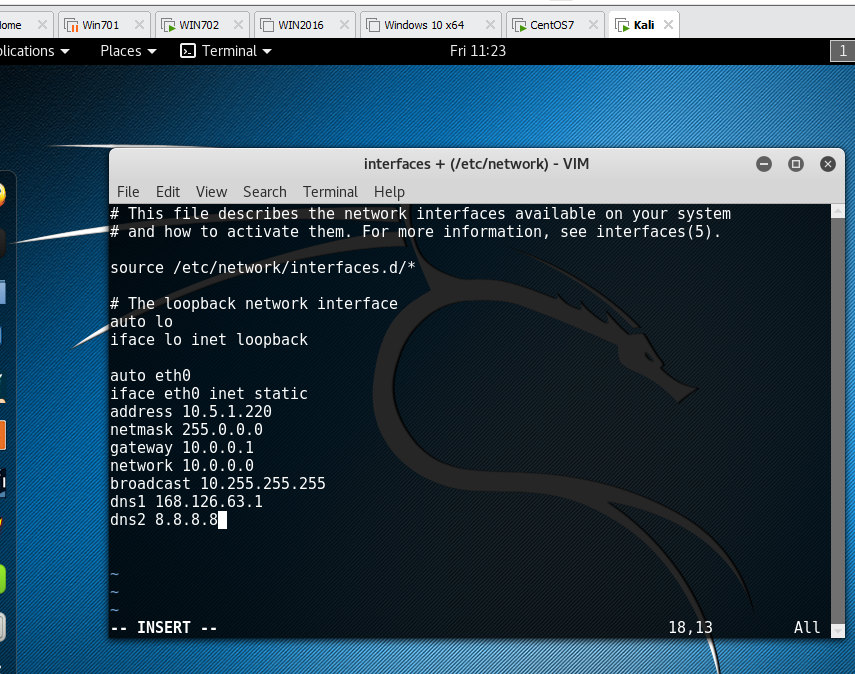
root@kali :~# vi /etc/network/interfaces
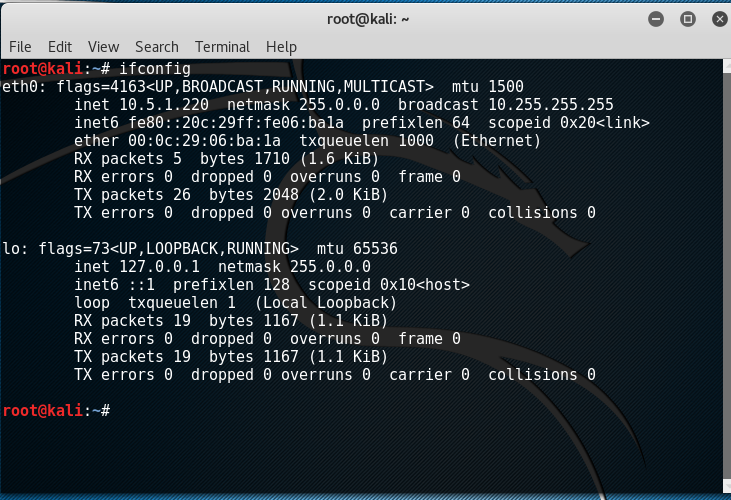
root@kali :~# service networking restart
init 6해서 재부팅

10.0.0.1


arpspoof -i eth0 -t <Target Host-OS IP> 10.0.0.1(Gateway-IP)
netsh interface ipv4 add neighbor "로컬 영역 연결" 10.0.0.1 70-5d-cc-ea-a6-1f
arp 를 마구잡이로 보내면서
ip가 나한테 온다

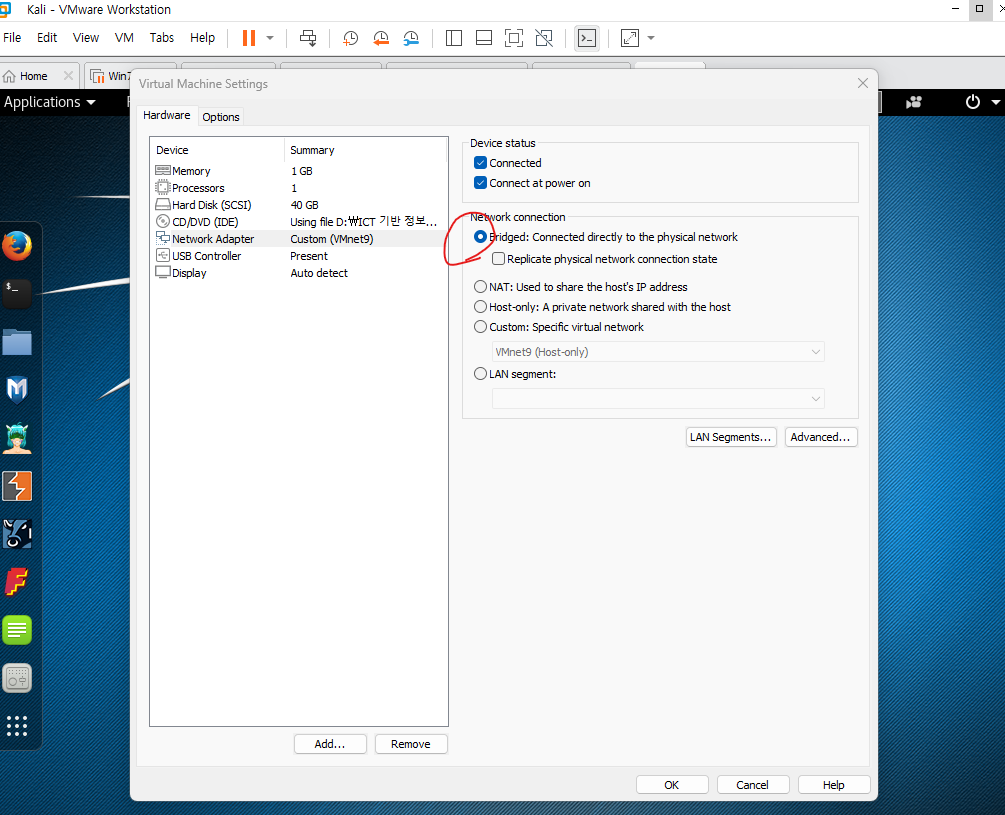
WIN2016 을 VMNET2로 바꾸고

DHCP 도 추가한다.
KALI에가서 VMNET1로 바꾸고
192.168.10.100으로 바꾼다.
'네트워크 수업' 카테고리의 다른 글
| OSPF 23.04.04 (0) | 2023.04.04 |
|---|---|
| EIGRP default-route 23.04.04 (0) | 2023.04.04 |
| 외워야할 이론 23.03.30 23.03.31 (0) | 2023.03.30 |
| [실습] EIGRP 부하분산(2) 23.03.29 (0) | 2023.03.29 |
| [실습] EIGRP 부하분산 23.03.28 (0) | 2023.03.28 |


댓글