2023.03.30 - [네트워크 수업/리눅스] - [리눅스] 서버구축 (리눅스의 보안정책 selinux)/프로젝트관련(1) 23.03.30
2023.03.31 - [네트워크 수업/리눅스] - [리눅스] 아파치 - 프로젝트관련(2) 23.03.31
2023.04.03 - [네트워크 수업/리눅스] - [리눅스] 프로젝트관련(3) 23.04.03
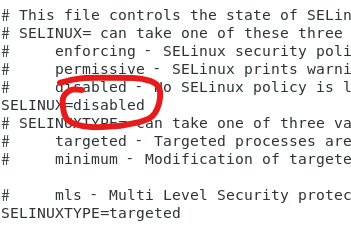
리눅스의 보안정책을 셀 리눅스라고 한다.
프로그램설치하려면 selinux에 걸린다. 그래서 해제해야함.
[root@centos7 temp]# vi /etc/sysconfig/selinux
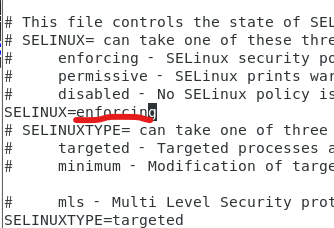
[root@centos7 temp]# setenforce 0 ==>1차방화벽 해제(근데 다시 재부팅하면 해제가 풀림)
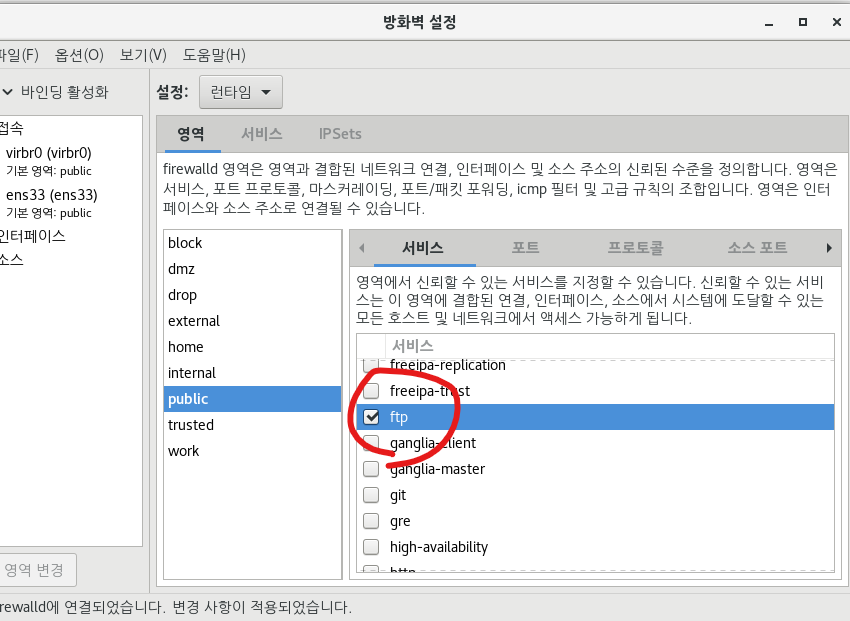
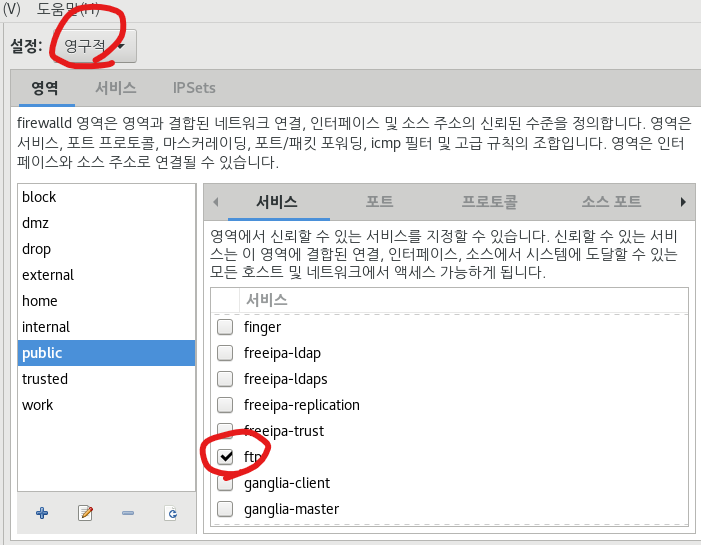
[root@centos7 temp]# firewall-config
[root@centos7 temp]# rpm -qa | grep vsftpd
[root@centos7 temp]# yum -y install vsftpd ==>이걸해야 밑에 vi /etc/named.conf 이게 가능함.
[root@centos7 temp]# systemctl start vsftpd.service ==>서버를 실행하겠다.
[root@centos7 temp]# systemctl enable vsftpd.service ==> 리눅스 부팅시 서비스 재시작 / 이거 안되면 방화벽에 걸린것.
Created symlink from /etc/systemd/system/multi-user.target.wants/vsftpd.service to /usr/lib/systemd/system/vsftpd.service.
[root@centos7 temp]# vi /etc/vsftpd/vsftpd.conf
:set nu 해주고 넘버링 붙인다.
12 anonymous_enable=YES
16 local_enable=YES
19 write_enable=YES
23 local_umask=022
29 anon_upload_enable=YES
33 anon_mkdir_write_enable=YES
87 ftpd_banner=Welcome to blah FTP service.
:wq
[root@centos7 temp]# systemctl restart vsftpd.service
[root@centos7 temp]# ifconfig ==>확인
[root@centos7 temp]# cd /var/ftp/
[root@centos7 ftp]# ls -l
합계 0
drwxr-xr-x. 2 root root 6 6월 10 2021 pub ==> 외부에서 접속하면 이게 보인다. 소유권이 root니까 소유권 바꾸자
[root@centos7 ftp]# chown ftp:ftp pub
[root@centos7 ftp]# ls -l
합계 0
drwxr-xr-x. 2 ftp ftp 6 6월 10 2021 pub
[root@centos7 ftp]# chown ftp:ftp pub
[root@centos7 ftp]# chmod 777 pub ==>현업에선 777하면안됨. 연습이니까 모든권한 주는것.
[root@centos7 ftp]# ls -l
합계 0
drwxrwxrwx. 2 ftp ftp 6 6월 10 2021 pub ==>바뀐거 확인
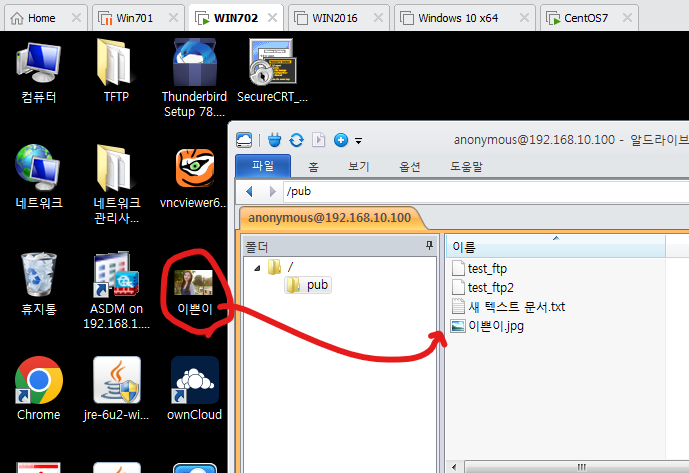
[root@centos7 ftp]# cat > test_ftp
this is test_ftp file...!!!
[root@centos7 ftp]# ls -l
합계 4
drwxrwxrwx. 2 ftp ftp 6 6월 10 2021 pub
-rw-r--r--. 1 root heejae 28 3월 30 16:33 test_ftp
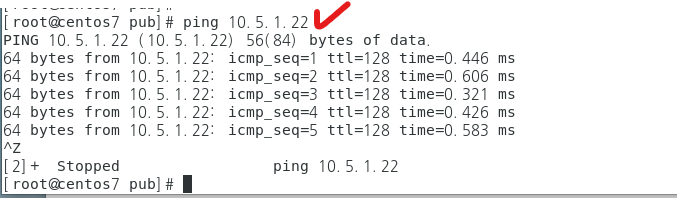
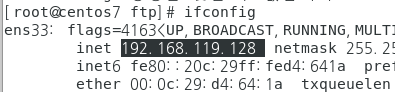
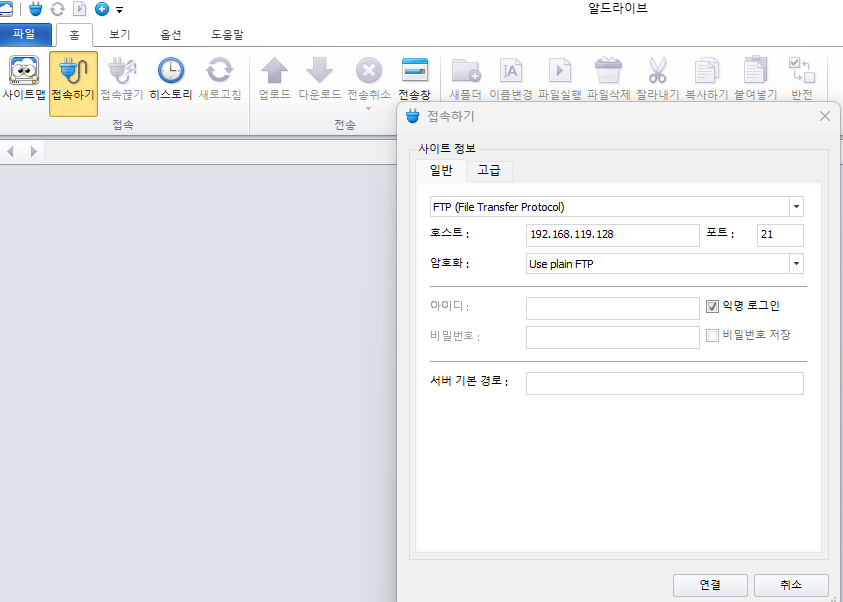
192.168.119.128
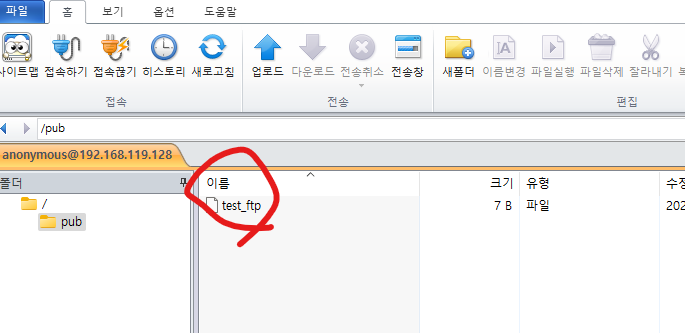
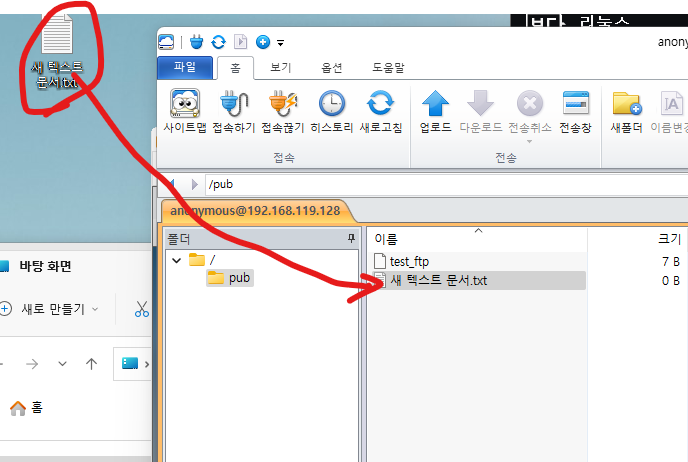
성공!

R1(config)#int f1/0
R1(config-if)#mac-address 1234.1234.1212
R1(config-if)#no shut
R1(config-if)#ip add dhcp
R1(config-if)#int f1/0
R1(config-if)#ip nat outside
R1(config-if)#int f0/0
R1(config-if)#no shut
R1(config-if)#ip nat inside
R1(config-if)#ip add 192.168.10.254 255.255.255.0
R1(config-if)#ip route 0.0.0.0 0.0.0.0 f1/0 10.0.0.1
R1(config)#ip access-list standard INGRESS
R1(config-std-nacl)#permit 192.168.10.0 0.0.0.255
R1(config)#ip nat inside source list INGRESS int f1/0 overload
리눅스로 가서...
vmnet2으로 바꿔주고
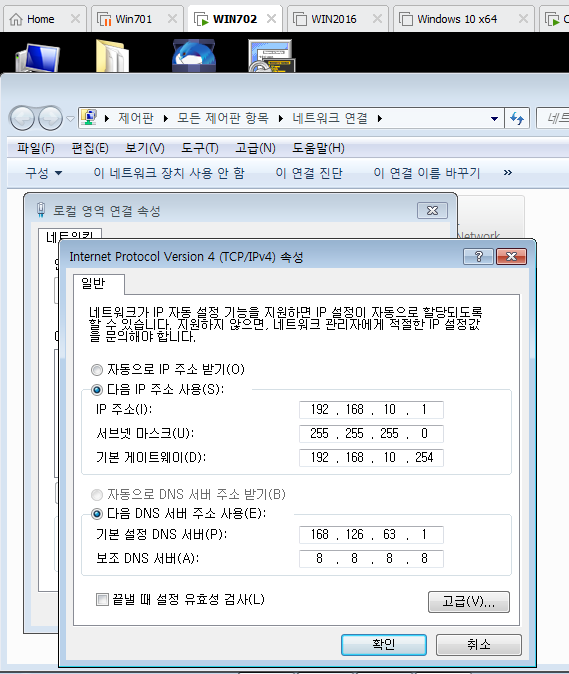
[root@centos7 pub]# vi /etc/sysconfig/network-scripts/ifcfg-ens33
TYPE=Ethernet
BOOTPROTO=static
NAME=ens33
DEVICE=ens33
ONBOOT=yes
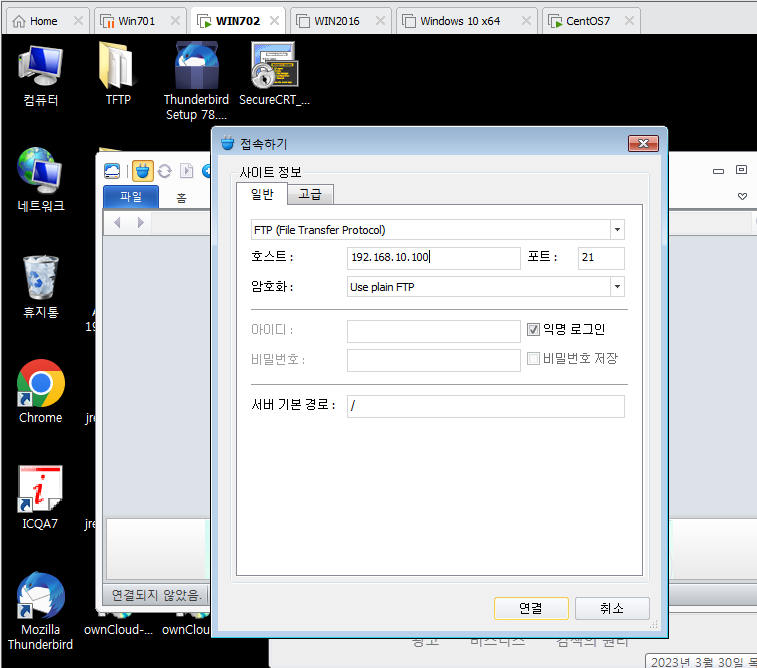
IPADDR=192.168.10.100
GATEWAY=192.168.10.254
NETMASK=255.255.255.0
NETWORK=192.168.10.0
BROADCAST=192.168.10.255
DNS1=168.126.63.1
DNS2=8.8.8.8
:wq
[root@centos7 pub]# systemctl restart network
[root@centos7 temp]# ifconfig
[root@centos7 temp]# ping 168.126.63.1

'네트워크 수업 > 리눅스' 카테고리의 다른 글
| [리눅스] Apache Web Server.pdf 23.03.31 (0) | 2023.03.31 |
|---|---|
| [리눅스] 23.03.31 (0) | 2023.03.31 |
| [리눅스] 허가권(numeric/symbolic) 23.03.30 (0) | 2023.03.30 |
| [리눅스] RPM 23.03.29 (0) | 2023.03.29 |
| [리눅스] linux package installation.pdf 23.03.29 (0) | 2023.03.29 |


댓글