su
[root@centos7 ~]# rpm -qa | grep telnet-server ==>telnet 설치 확인여부
[root@centos7 ~]# yum list | grep telnet-server ==>그냥 yum이 설치할수있는 파일 확인.
telnet-server.x86_64 1:0.17-66.el7 updates
[root@centos7 ~]# yum -y install telnet-server ==>yum으로 설치하기
//만약 안된다면
[root@centos7 ~]# ps -ef | grep yum
root 4154 2853 0 14:14 pts/0 00:00:00 /usr/bin/python /usr/bin/yum -y install telnet-server
root 4332 4189 0 14:18 pts/0 00:00:00 /usr/bin/python /usr/bin/yum -y install telnet-server
root 4348 4189 0 14:19 pts/0 00:00:00 grep --color=auto yum
[root@centos7 ~]# kill -9 4189
죽었음
[root@centos7 sysconfig]# kill -2853
bash: kill: 2853: invalid signal specification
[root@centos7 sysconfig]# rm -rf /var/run/yum.pid
하고 다시 설치
//
vi /usr/lib/systemd/system/telnet.socket ==>환경설정 파일 실행하는 파일
포트넘버 23번인지 확인
ListenStreeam = 23
getenforce => disabled인지 확인
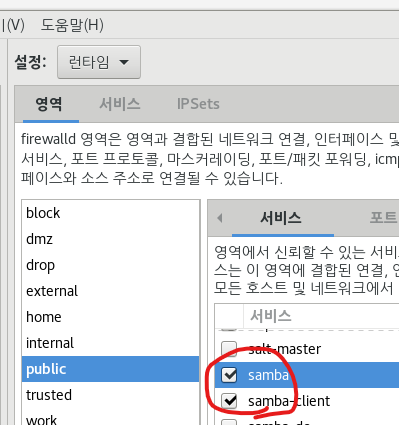
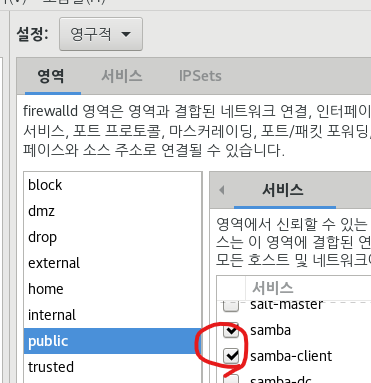
firewall-config ==>telnet둘다 체크
firewall-cmd --permanent --add-port=23/tcp
firewall-cmd --reload
systemctl start telnet.socket
systemctl enable telnet.socket
active인지 확인
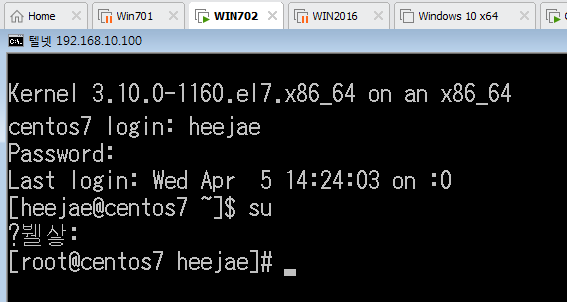
702에서 crt들어가기
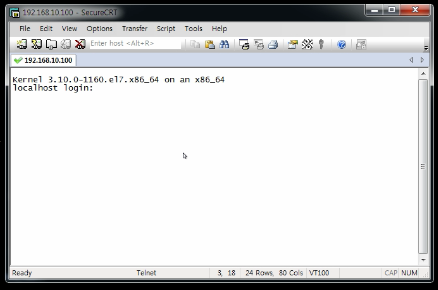
아님 cmd 들어가서 telnet 192.168.10.100 넣어보기.
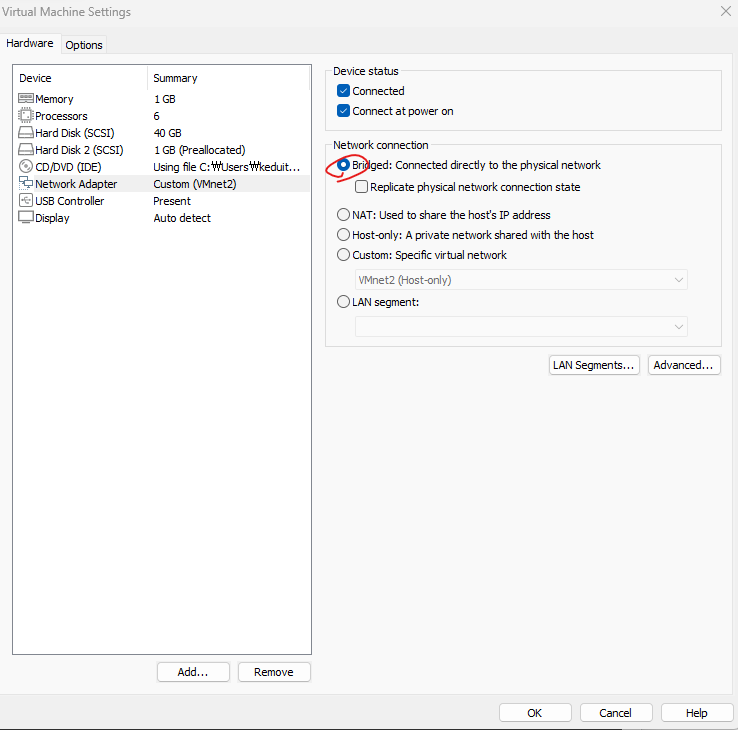
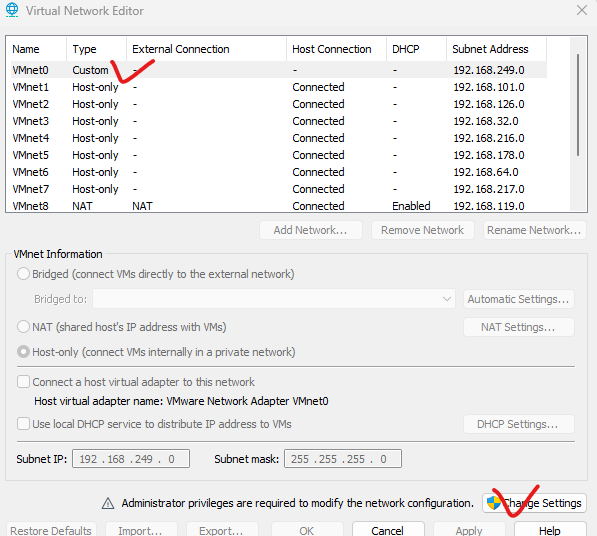
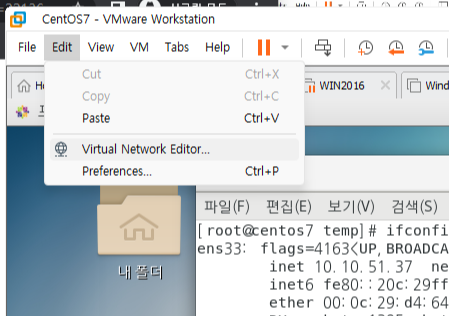
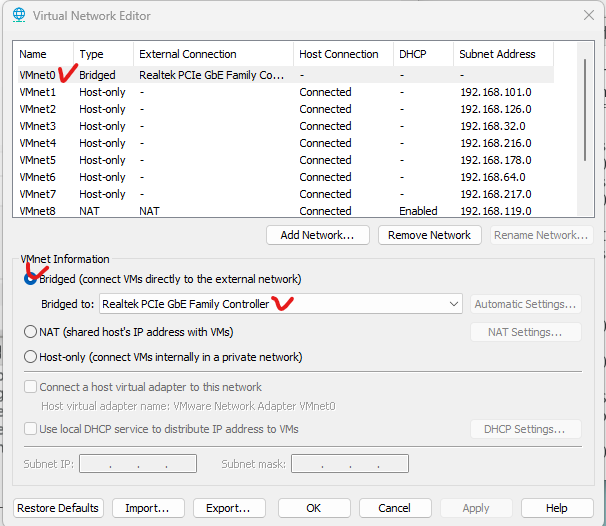
centOS bridge로 바꾸기
vi /etc/sysconfig/network-scripts/ifcfg-ens33
TYPE=Ethernet
BOOTPROTO=dhcp
NAME="ens33"
DEVICE="ens33"
#IPADDR=192.168.10.100
#GATEWAY=192.168.10.254
#NETMASK=255.255.255.0
#NETWORK=192.168.10.0
#BROADCAST=192.168.10.255
#DNS1=168.126.63.1
#DNS2=8.8.8.8
BOOTPROTO=dhcp로 바꾸고,
IP에 전부 #넣고 주석처리하기
systemctl restart network
내 찐 컴퓨터로 가서
이러면 리눅스가 클라이언트가 되는것.
다시 재시작하고
win+r
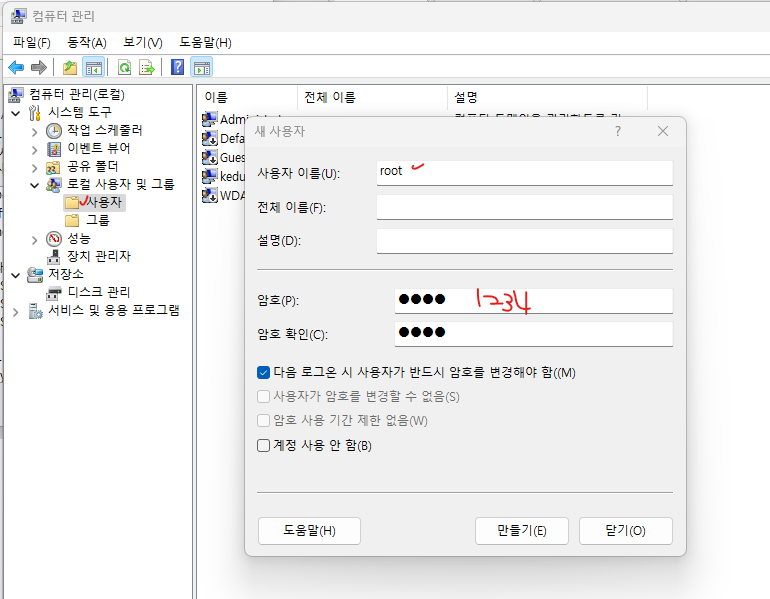
compmgmt.msc
사용자계정 추가
사용자이름 : root
소속그룹 : users
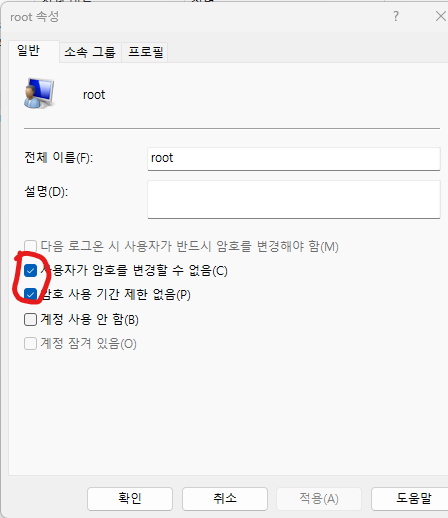
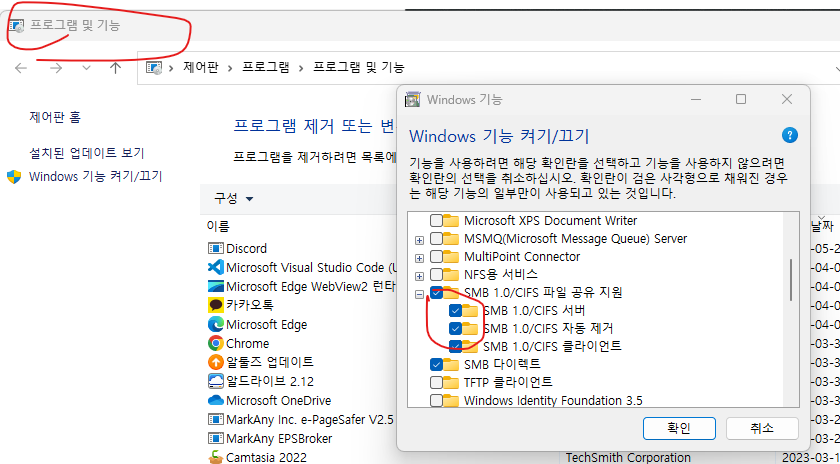
iusr 뭐시기 설정하고 추가해줘야함. 안해주면 anonymous로 접근이 안됨. ==> https://onebyone1.tistory.com/191
내찐컴퓨터 아이피를
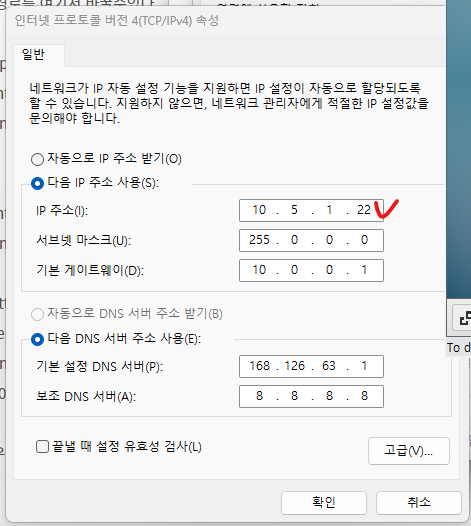
리눅스에서 핑을 날려보자.
[root@centos7 ~]# ping 10.5.1.22
rpm -qa | grep samba
yum -y install samba-client
systemctl start samba-client
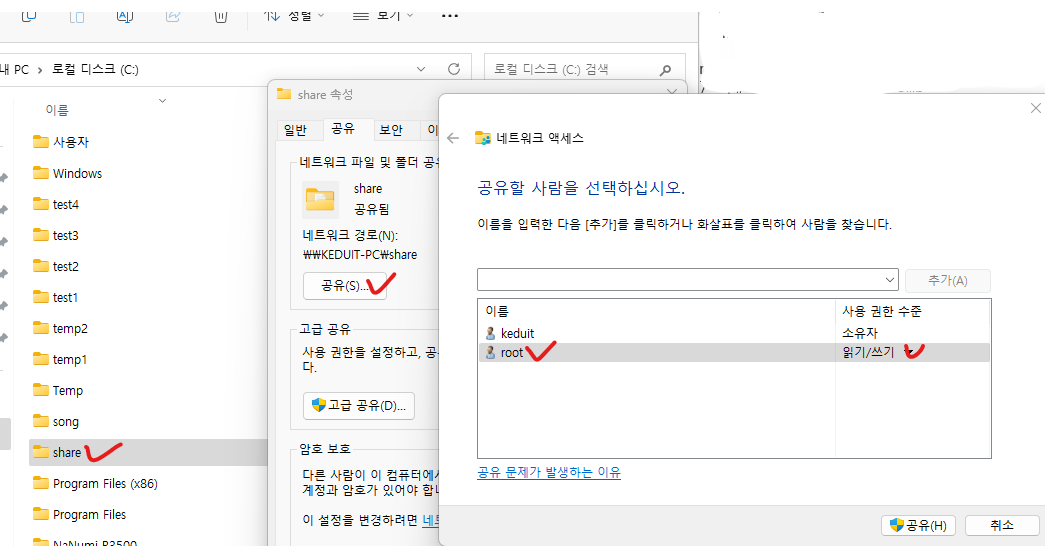
smbclient -U root -L 10.5.1.22 ==>내 아이피
firewall-config
[root@centos7 usr]# getenforce ==>확인
Disabled
temp파일이 없다면 [root@centos7 ~]# mkdir /temp ==>만들고
[root@centos7 ~]# mount -t cifs //10.5.1.22/share /temp -o username=root -o password=1234
==>cifs 가 삼바...뭐시기
==>삼바는 데몬을 따로 실행시키지 않아도 된다.
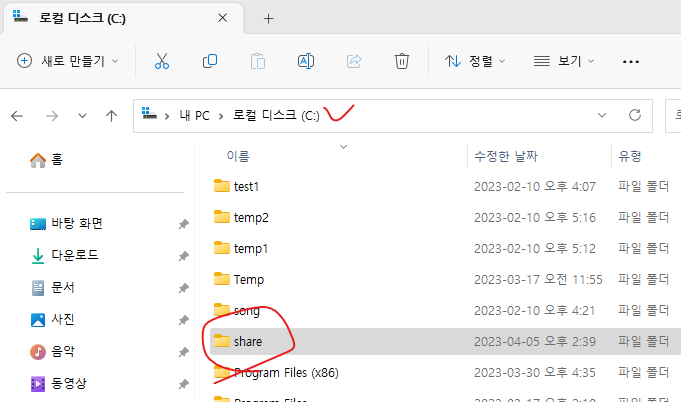
내 찐컴퓨터에서 share폴더에 txt파일 만들고
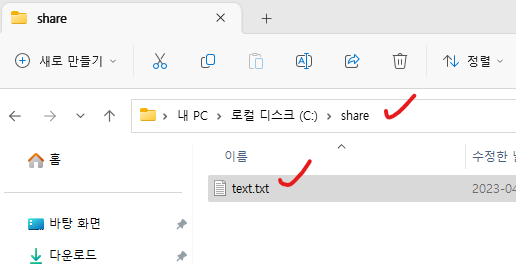
[root@centos7 temp]# cd /temp
[root@centos7 temp]# ls
desktop.ini text - 복사본.txt text.txt
'네트워크 수업 > 리눅스' 카테고리의 다른 글
| [리눅스] samba 23.04.10 (0) | 2023.04.10 |
|---|---|
| [리눅스] samba 서버구축.pdf 23.04.05 (0) | 2023.04.05 |
| [리눅스] 텔넷 서버 구축.pdf 23.04.05 (0) | 2023.04.05 |
| 리눅스 FTP HTTP DNS 총정리 23.04.03 (0) | 2023.04.03 |
| [리눅스] DNS 프로젝트관련(3) 23.04.03 (0) | 2023.04.03 |


댓글